First, choose a few colors you like and add them to the swatches panel. You'll probably change them later, as you experiment with blending modes. But for now, start with a few swatches in the swatches panel. They have to be in the swatches panel in order to show up in the dropdown menu of PatternMaker color choices.
I like pink and purple, because those colors are predominant in the splash screen of InDesign (which, if you don't already know, is my favorite software). Plus, I'm a woman, and we tend to like pink.

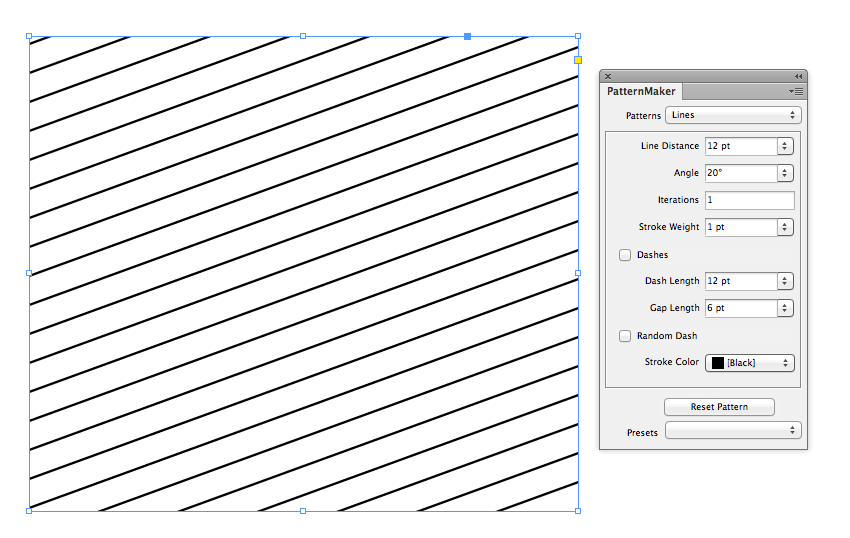
Next, draw a big frame and apply the PatternMaker "Lines" pattern.

Now, you may be thinking, "Why are we drawing dashed lines when what we need is a bunch of diamonds?" First thing we need to do is to turn off the dashes.
Next, make the Stroke Weight really thick, and then change both the angle and the line distance. I made my Line Distance 26 pt, Angle 60 degrees, and Stroke Weight 13 pt. The key is that the line distance needs to be double the stroke weight. That is what will give us nice perfectly symmetrical diamonds.

Now for the next color: Copy, paste in place, and change the angle to a negative number. Oh wait! You can't? Me neither.

So instead of using a negative line angle within PatternMaker, simply flip the object horizontally. Like so:

Next, add a blending mode to the top frame. I chose Darken. But you might prefer a different color mode.

Next, copy, and paste in place. Put the blending mode back to Normal. In the PatternMaker panel, change the Stroke Weight to 1 pt and the color to Paper.

Again, copy and paste in place, then flip horizontal.

Now we have a basic argyle pattern, but I think it needs a bit of color in the background. Make another rectangle and color it brown. Send it to the back.

Now, you might like the way this looks, but I think it's kind of ugly. I don't want the purple interacting with the brown background. So we need to isolate the pink and the purple lines so that those are the only two objects affected by the blend mode of the purple lines.
When you have a bunch of objects stacked on top of each other, all with the same bounding box dimensions, it's rather troublesome to select just the ones you want without moving all the others out of the way. Enter: the Layers panel.

With Layer 1 twirled open, I can see all five objects. I know that the rectangle at the bottom is the brown frame. And I want just the two objects above that. So click on one of the little squares next to the object name, then shift+click on the little square directly above it. That will select both the purple lines and the pink lines.
Next, group them and in the Effects panel, click "Isolate Blending."

That's the basic idea. You can change up your patterns by making the thin lines dashed, changing the line angle, colors and blending modes.


Happy Patterning!
No comments :
Post a Comment